Exercise Bike Knee Rehab: Safe Protocols & Progression
By Marta Kowalska • 16th Oct
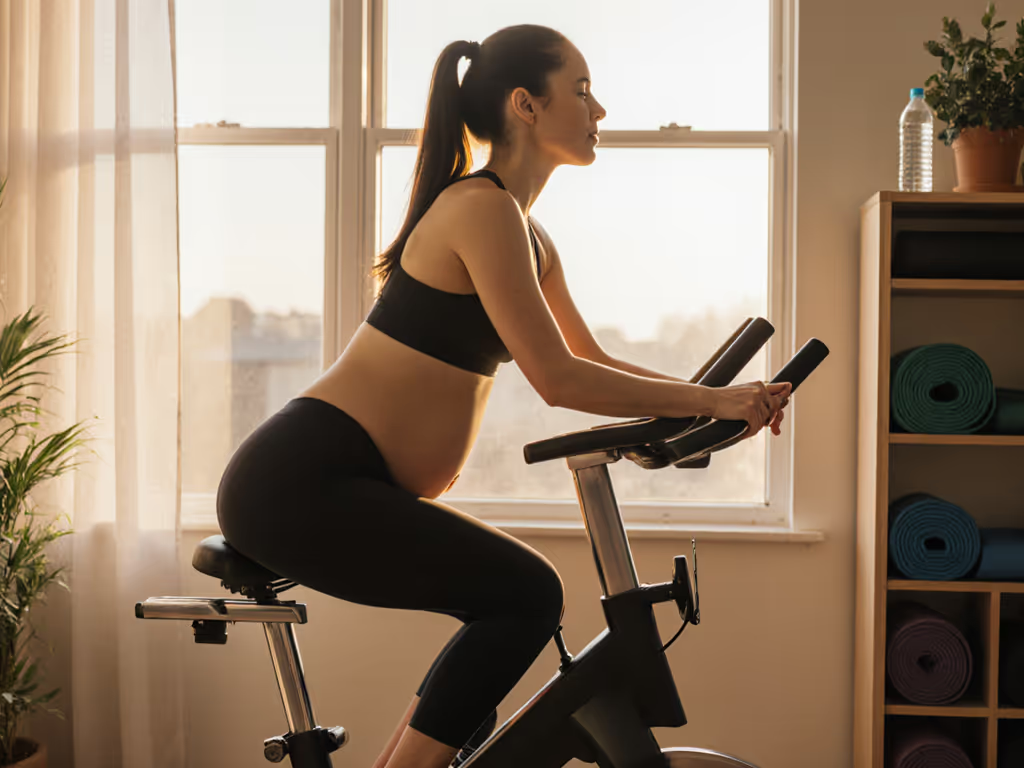
When your knee needs rehabilitation, few tools offer the precision and control of an exercise bike knee rehabilitation program. Backed by clinical evidence showing superior functional outcomes compared to traditional multi-exercise protocols, a stationary bike for knee recovery delivers measurable progress while minimizing joint stress. As someone who's salvaged countless machines from landfill-bound obsolescence (including a smart bike buzzing like a beehive from neglected bearings), I've learned that well-maintained equipment enables sustainable recovery. Silence is serviceable, especially when rehab demands focus without distraction. To keep your bike running smoothly throughout rehab, follow our exercise bike maintenance guide.
Why Pedaling Protocols Outperform Traditional Methods
A landmark study tracking 60 total knee replacement (TKR) patients revealed something critical: those using a 3-exercise post-surgery cycling protocol covered 66 meters more in the 6-minute walk test at 2 days post-op compared with multi-exercise groups. They also showed faster functional gains in the Timed Up & Go test and lower pain scores across all time points. Why?
- Controlled motion range: Eliminates weight-bearing stress while maintaining joint lubrication
- Reproducible mechanics: Exact seat height and resistance prevent compensatory movements
- Neuromuscular reeducation: Smooth cadence rebuilds motor patterns without fear of instability
Silence is serviceable, both in your equipment and your recovery process. A well-maintained bike with properly torqued fasteners (typically 25-30 Nm for seatposts) won't introduce vibration that disrupts delicate joint healing.
Critical Setup Steps Before Your First Pedal Stroke
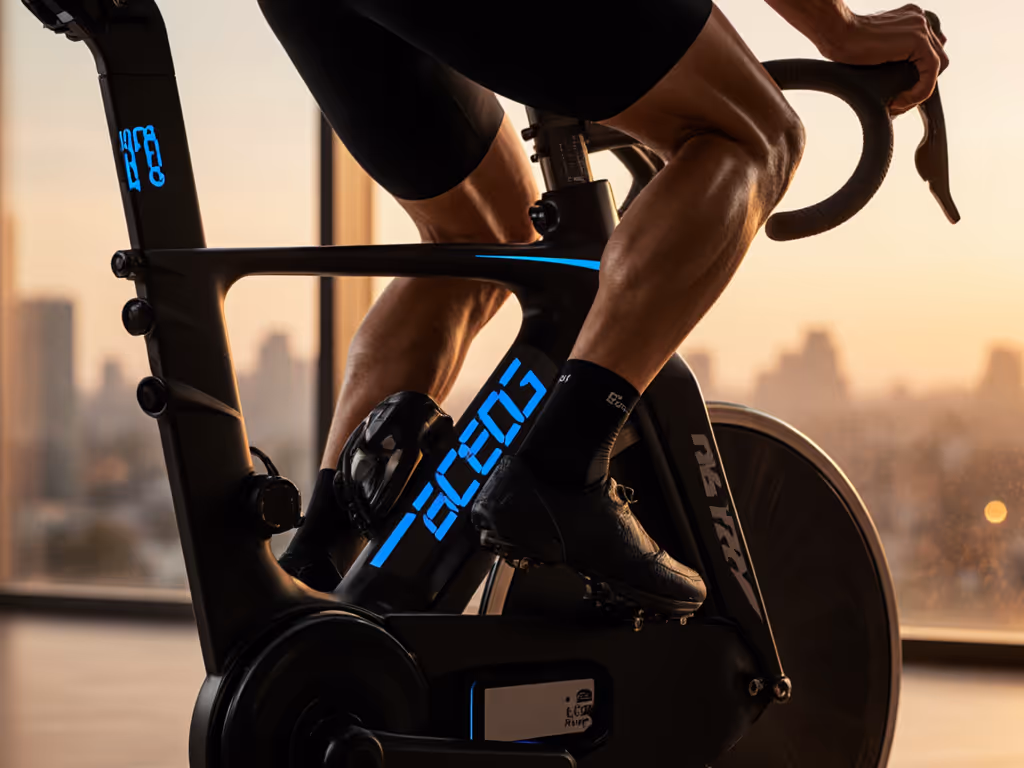
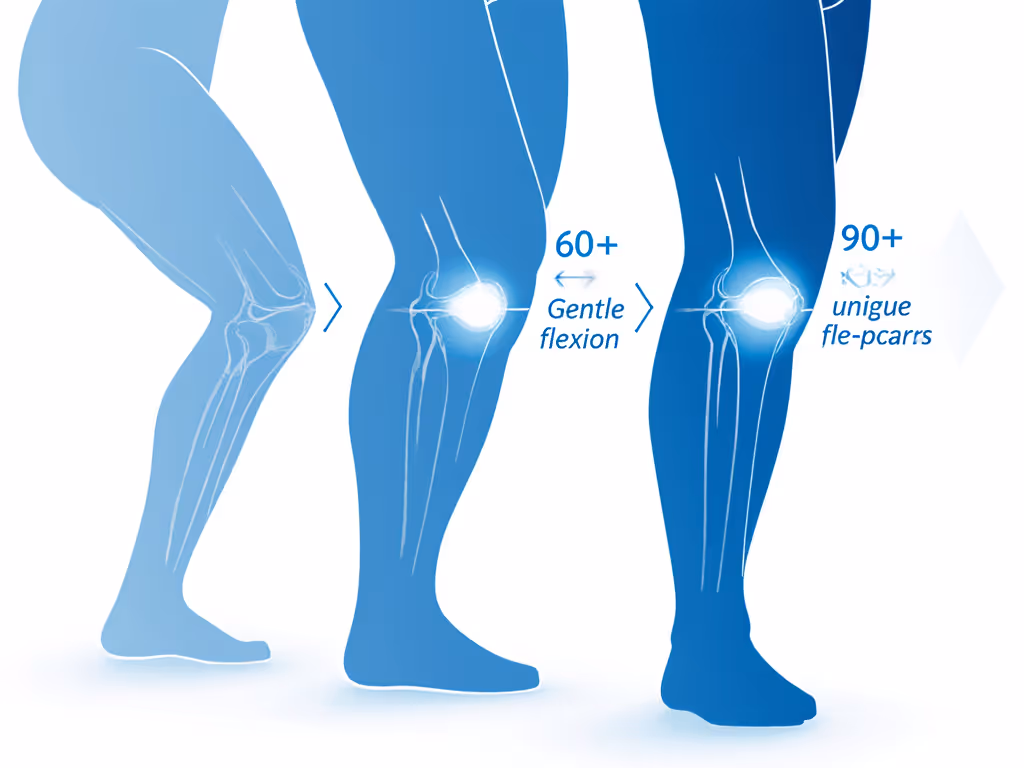
Seat Height Calibration (The 30-Degree Rule)
Adjust your saddle so your knee flexes at 25-30 degrees at the pedal's lowest point. For step-by-step seat height checks and safe posture, use our exercise bike setup guide. Methodical adjustment prevents posterior cruciate ligament strain:
- Place heel on pedal at 6 o'clock position
- Extend leg fully without rocking pelvis
- Lower seat incrementally until you achieve slight knee bend when using ball-of-foot
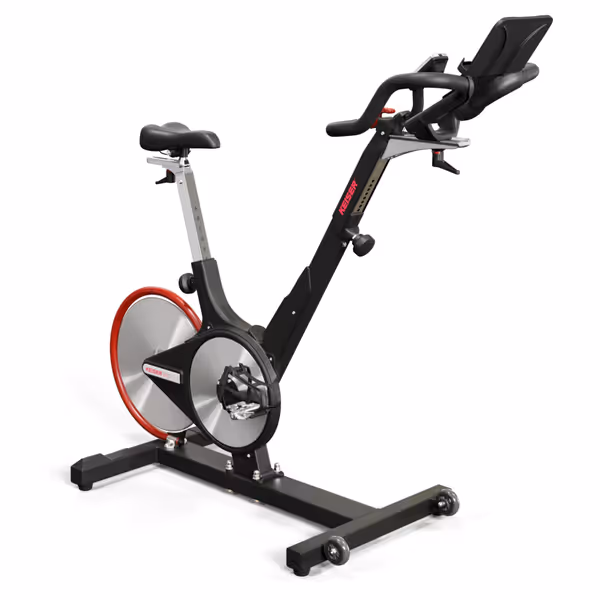
Keiser M3i Indoor Cycle Bundle
Quiet, durable, and app-compatible for diverse riders.
$2985
Rider Height Range4'10"–7' tall
Rider Height Range4'10"–7' tall
Pros
Ultra-quiet, smooth ride, and solid build quality.
Wide adjustability accommodates most users comfortably.
Made in USA ensures high quality control.
Cons
Premium price point may be a barrier for some.
Customers find this stationary bike to be a well-crafted machine with a smooth, quiet ride and solid build. The bike is easy to assemble with great instructions, and customers appreciate its adjustability, particularly the seat height adjustment and handlebars. They consider it worth the price and praise its beautiful design.
Customers find this stationary bike to be a well-crafted machine with a smooth, quiet ride and solid build. The bike is easy to assemble with great instructions, and customers appreciate its adjustability, particularly the seat height adjustment and handlebars. They consider it worth the price and praise its beautiful design.
Initial Resistance Parameters
Begin with safe resistance levels for knee rehab that prioritize smooth motion over intensity:
- Weeks 1-2: 1-2 on magnetic resistance scales (or "barely there" friction)
- Cadence: 40-50 RPM (use handlebar sensors to monitor)
- Duration: 5-10 minutes, 2x daily
Evidence-based progression uses pain as the governor, so stop if you feel >2/10 discomfort. This aligns with physio guidelines emphasizing incremental gains over aggressive milestones.
Progression Framework: Avoiding Common Setbacks
Phase 1: Restoring Range of Motion (Weeks 1-4)
- Backward pedaling: Engages quadriceps differently to combat stiffness
- Partial revolutions: Start at 90° flexion, gradually increasing to full ROM
- Frequency: Daily sessions, increasing duration by 2 minutes every 3 days
Tool-specific tip: Use a tape measure to track incremental seat drops: 0.5 cm reductions expose knees to deeper flexion without compromising safety.
Phase 2: Strength Integration (Weeks 5-12)
Only advance when you achieve full pain-free ROM. Introduce low impact knee exercise variables: Not sure which bike style eases joint stress best? Compare upright vs recumbent bikes to choose the frame that supports your knee.
| Week Range | Resistance Level | Cadence Target | Duration |
|---|---|---|---|
| 5-6 | 3-4 | 50-60 RPM | 15 min |
| 7-8 | 5-6 | 60-70 RPM | 20 min |
| 9-12 | 7-8 | 70-80 RPM | 25 min |
Pragmatic warning: Exceeding 80 RPM too early increases shear forces on healing tissues. Monitor for post-ride swelling, it's the clearest indicator of overexertion.
Phase 3: Functional Integration (Month 3+)
Incorporate physical therapy cycling protocols that mimic real-world demands: As you add intervals and single-leg work, double-check proper exercise bike posture to protect your back and knees.
- Interval training: 2 min light resistance / 1 min moderate
- Single-leg drills (with support): 30 sec per leg, 3x daily
- Incline simulation: Adjust handlebars downward to shift weight forward
Navigating Equipment Limitations Safely
Your bike's reliability directly impacts rehab consistency. Consider these safety-first checks:
- Belt tension: Should deflect 5-8 mm under 10 lb pressure (use a fish scale)
- Flywheel alignment: Spin unloaded, wobble >2 mm indicates bearing failure
- Pedal stability: Test for lateral play; >1 mm requires service
Experience-based insight: That friend's "dead" smart bike? Misaligned flywheel and dried lubricant turned gentle pedaling into a vibration hazard. We corrected it with a 5 mm spacer and fresh grease (ninety minutes to preserve its rehab function). Fix first, then decide if upgrade money is deserved.
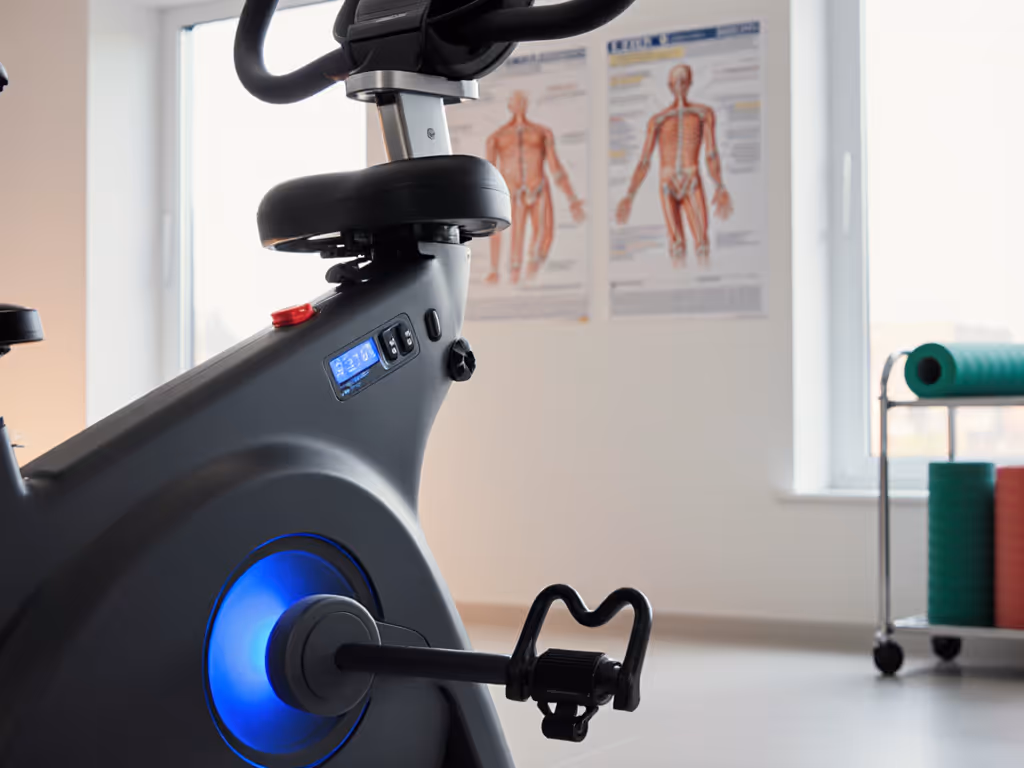
When to Consult Your Physical Therapist
Stop immediately and seek professional guidance if you experience:
- Swelling lasting >2 hours post-ride
- Audible clicking during motion
- Sudden loss of flexion/extension range
Critical boundary: Never override surgical precautions for "just a few more minutes." Your PT's timeline overrules generic online advice.
Building Sustainable Recovery Habits
Silence is serviceable extends beyond your bike, it means designing rehab that integrates with your life. Prioritize:
- Consistent timing: Ride when pain meds peak for maximum comfort
- Data logging: Track daily ROM gains in a simple notebook (avoid app dependency)
- Pre-ride rituals: 2 min heat application + active knee circles For additional joint-friendly mobility work, see our pre- and post-ride stretching drills.
The most successful rehab programs respect the body's natural adaptation curve. One patient transformed her post-TKR recovery by treating the stationary bike like a precision instrument, not a torture device. She progressed methodically through resistance levels, documented torque specs for every adjustment, and never exceeded the 30-degree knee flexion rule. At 12 weeks, she cycled 30 minutes at resistance level 7 with no effusion.
Further Exploration
While structured protocols provide the foundation, your unique physiology requires individualized adjustments. Consult peer-reviewed resources like the Journal of Orthopaedic & Sports Physical Therapy for condition-specific modifications. Remember that the quietest, most reliable bikes (those built with standard fasteners and documented service specs) become trusted partners in your recovery journey. For equipment maintenance guidance that aligns with repair-first philosophy, check authoritative service manuals from manufacturers committed to long-term parts availability.
Related Articles