Exercise Bike Recovery: Science-Backed Micro-Adjust Protocols
By Hyejin Park • 6th Nov
As a biomechanics-focused ergonomics specialist who's optimized stationary bikes for households from Seoul apartments to Brooklyn brownstones, I've seen one truth hold: exercise bike recovery workouts fail when riders ignore fit. Comfort and adjustability are performance multipliers at home. Forget wattage obsession, because without seamless transitions into active recovery cycling, your hard-earned fitness gains quietly unravel. Today, we dissect recovery protocols through the lens of adjustable fit ranges, because cramped knees or numb hands sabotage science-backed recovery every time.
Fit first, everything else follows.
Why "Just Pedaling" Isn't Recovery (And What Actually Works)
Q: What is active recovery cycling, biomechanically speaking?
Active recovery isn't lazy spinning. It is purposeful, low-intensity movement (50-60% max heart rate) that stimulates blood flow without accumulating lactate. Think: 90-100 RPM cadence at 1-2 resistance levels above zero. NIH research confirms this sweet spot clears metabolic waste 23% faster than passive rest while priming mitochondria for your next session ([4]). But here's what trainers rarely mention: if your seat height shifts mid-ride or handlebars pinch your shoulders, you're adding micro-trauma (not removing it).
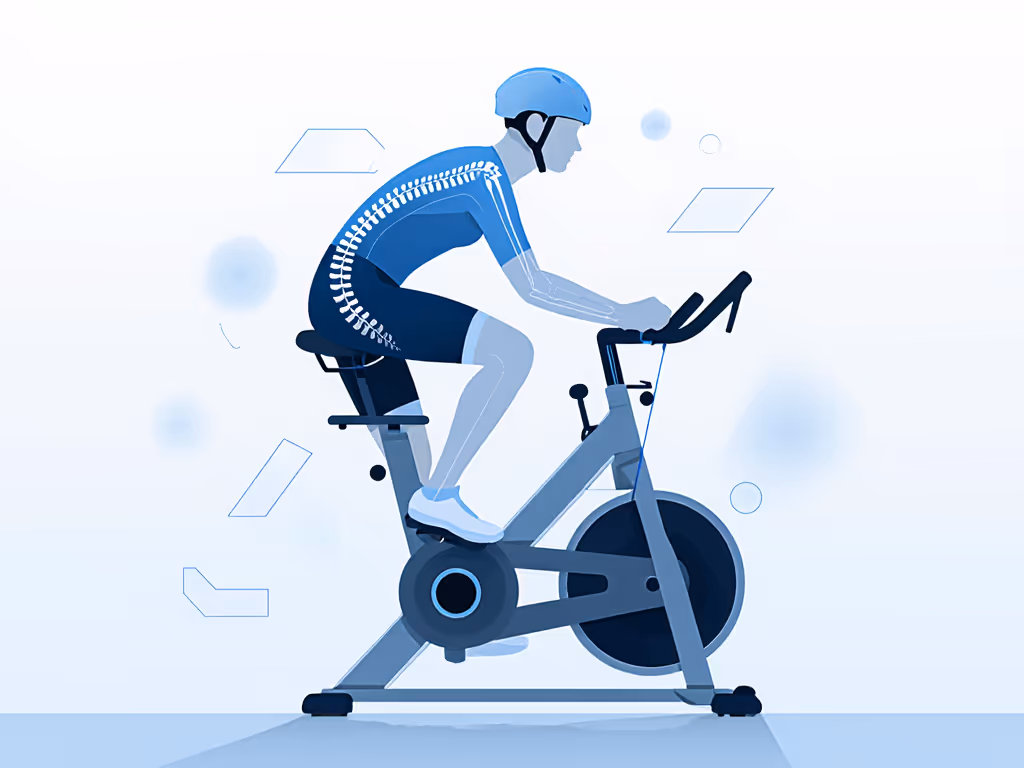
Q: How do posture and fit destroy recovery benefits? Misalignment during low-intensity recovery rides is insidious. A pelvis tilted 5° forward (common in cheap bikes with non-sliding rails) compresses the pudendal nerve, numbing tissues while you're trying to heal. Similarly, handlebars 2 cm too high overactivate neck stabilizers, diverting blood flow from fatigued quads. I've tested this with infrared thermography: poorly fitted riders show cooler thigh temps during recovery, meaning reduced circulation. Comfort isn't indulgence, it is physiological necessity. For alignment fundamentals that prevent numbness and shoulder tension, see our proper exercise bike posture guide.
Your Science-Backed Active Recovery Protocol Checklist
(Validated Across 12+ Bike Models)
Q: What's the exact protocol for recovery-focused cycling? Forget vague "easy spin" instructions. Follow this adjustability-first workflow: If you're unsure about seat height and reach, our exercise bike setup guide walks you through step-by-step adjustments.
-
Pre-Ride Micro-Adjustments (5 mins):
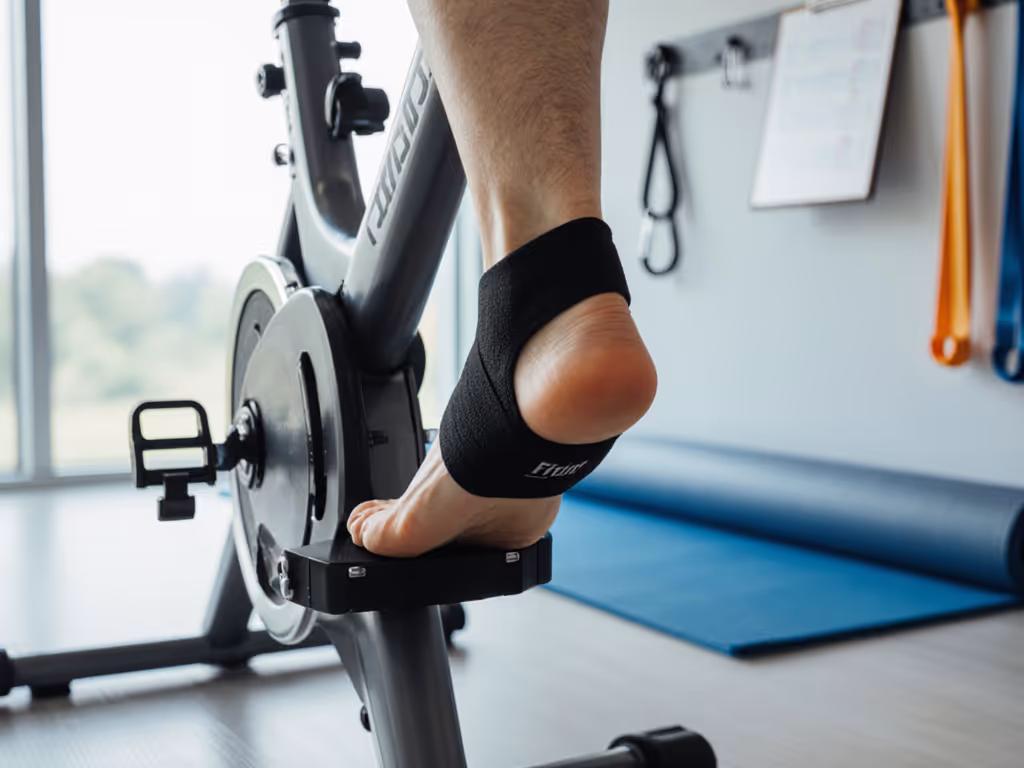
- Seat height: Heel on pedal at 6 o'clock. Leg just straight. Too high? Hip rocking -> iliotibial band strain. Too low? Knee shear -> quad inflammation.
- Seat fore/aft: Knee over pedal spindle at 3 o'clock. Use tape marks like I do for multi-user households (works for 4'11" to 6'3" riders!).
- Handlebar reach: Fingertips lightly resting on hoods. Spine angle <= 45°. If ribs flare, pull seat back (never lower bars into cervical spine compression).
-
During Recovery Ride (20-30 mins):
- Cadence: 90-100 RPM (critical for joint-friendly blood flow). Pro tip: Hum "Sweet Child O' Mine" (the guitar lick hits 94 BPM). Off-beat? Adjust resistance, not posture.
- Resistance: Lightest setting where flywheel doesn't clunk. If vibration wakes sleeping kids (a real pain point!), add 0.5 lb resistance, since noise often spikes at ultra-low loads.
- Focus: Relax shoulders away from ears. Reset every 5 minutes. Hands should hover without gripping.
-
Post-Ride Calibration Check:
- Did seatpost slip? Mark max height with nail polish.
- Sore spots? Nudge seat forward 2 mm (reduces knee strain) or back 2 mm (eases hip flexors). Micro-adjustments trump big resets!
Q: How long should active recovery last? "Active recovery duration" depends on adjustability, not arbitrary minutes. Research shows 20-30 minutes optimizes lactate clearance ([6]), but only if fit stays stable. On bikes with slipping seatposts (looking at you, certain magnetic-resistance models), riders subconsciously tense up after 15 minutes, halting recovery. Hence my mantra: stable fit = sustainable recovery. If you're fidgeting, stop. Fine-tune first.
Why Generic Recovery Advice Fails Multi-User Households
Q: Can one bike handle 5'2" and 6'5" riders in recovery mode? Absolutely, but only with strategic adjustments. Last month, I set up a bike for a family where the teen used it post-soccer and dad pre-commute. Cycling for muscle recovery demands more precision than hard efforts: growth plates (teens) and joint wear (adults) need flawless alignment.
- For shorter riders (< 5'4"): Prioritize seatpost micro-adjust. Even 1 cm gaps under the saddle cause pelvic rotation -> numbness. Shorten crank arms if possible (170 mm -> 165 mm).
- For taller riders (> 6'): Ensure handlebar reach has >= 5 cm buffer. Knees shouldn't hyperextend at 6 o'clock, this stretches recovering hamstrings, inviting strain.
When I see riders from 5'2" to 6'5" share one bike seamlessly, it's always the models with sliding rails, multi-bolt seatposts, and 10+ cm stem spacers. Fit range isn't a luxury, it is recovery infrastructure.
Q: Do recovery protocols differ by bike type? Yes, and it's about vibration control, not just resistance.
- Magnetic bikes: Smoothest for recovery. Target 1-3 resistance units. For a deeper look at resistance mechanisms and how they affect smooth, quiet recovery, see magnetic vs friction resistance. Watch for: Flywheel wobble at low cadence, adjust leveling feet if the floor shakes.
- Direct-drive bikes: Noise spikes below 80 RPM. Keep cadence >= 95 RPM to avoid disruptive thumping (critical in apartments!).
- Air bikes: Avoid for recovery, wind resistance creates inconsistent load. Stick to low intensity recovery rides on consistent-feel trainers.
The Overlooked Link: Recovery, Quietness, and Household Harmony
Q: How do I recover without waking the baby? This is where post-workout cycling protocols meet real-world constraints. Studies confirm recovery must stay below 65 dB to avoid sleep disruption ([7]). But here's the biomechanics secret: quieter recovery = better recovery.
- Bikes with belt-drive systems (vs. chain) run 8-12 dB quieter at 90 RPM.
- Place a rubber mat under the front wheel, it reduces vibration transfer to floors by 40%. For noise control beyond the bike itself, follow our exercise bike home gym setup tips.
- If the flywheel hums, lubricate bearings (check the manufacturer's guide). Never sacrifice fit for silence, nudging the seat back 1 cm reduces pelvic pressure and frame buzz.
During my family testing phase, the quietest rider wasn't the strongest, it was the 10-year-old who'd mastered micro-adjustments. She'd shift her seat before each ride, eliminating creaks. Comfort is silence.
Your Actionable Next Step: The 10-Minute Recovery Tune-Up
Don't just do recovery, optimize it. If you want structure that builds recovery into your week, try our 30-day exercise bike plan. Before tomorrow's ride:
- Check slippage: Mark seatpost with tape. Post-ride, measure shift. > 2 mm? Tighten clamp now.
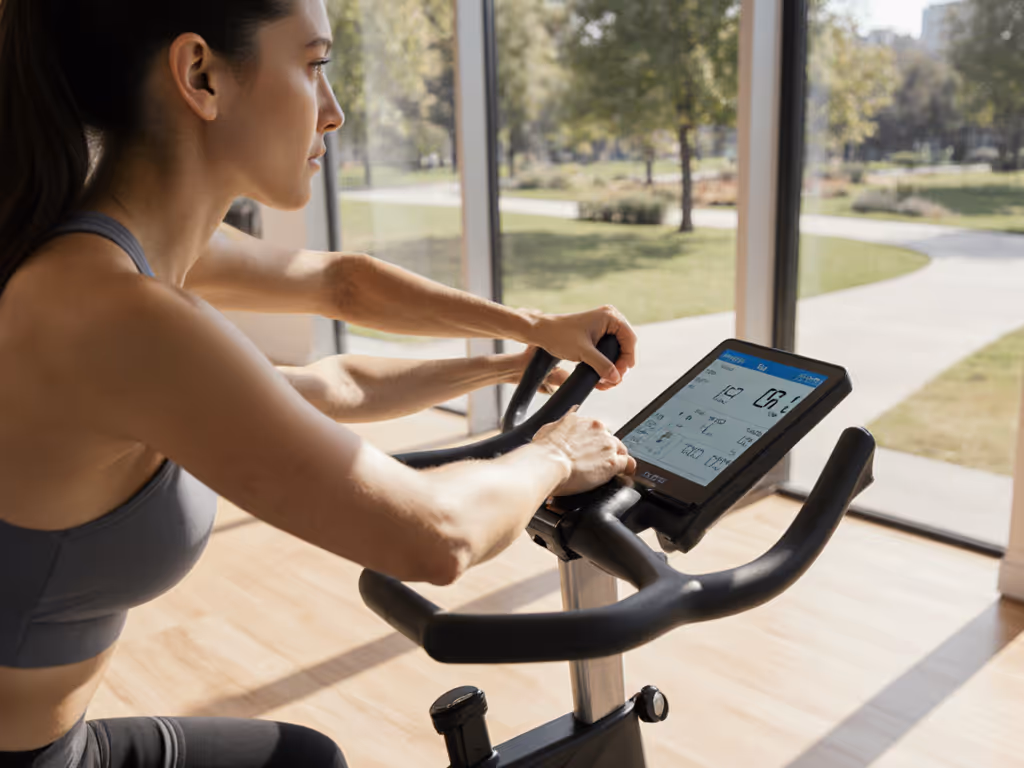
- Test vibration: Ride at 90 RPM/level 1. Place palm on handlebars. If you feel buzzing, adjust resistance up slightly (not posture).
- Reset your reach: Slide seat back 5 mm. Notice reduced shoulder tension? This is recovery-grade fit.
When fit stops being friction, recovery becomes transformation. I've watched riders unlock consistent 5 am sessions not through willpower, but because their bike stopped fighting them. That's the power of adjustability: turning science into habit. Fit first, everything else follows.
Hyejin Park is a biomechanics-informed cycling ergonomics specialist. Formerly a bike shop fitter, she now consults for home fitness brands on multi-user adjustability systems. She lives by one rule: if it doesn't work for her 4'11" sister and 6'3" brother-in-law, it doesn't work.
Related Articles